
tldr; Squidmar Miniatures released a great video, where they used the OpenScan Mini and the OpenScanCloud to scan one of their amazing miniatures. As the video is focusing on the results, I want to add some more technical details. Anway, the raw results already speak for themselves:

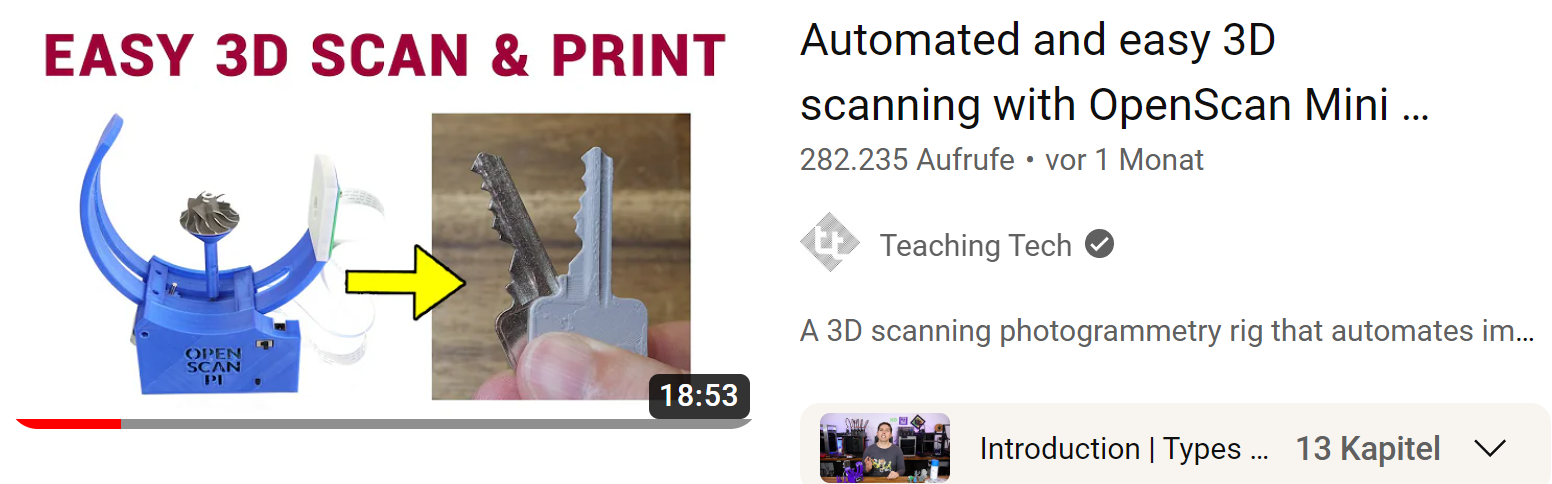
If you haven't already seen it, please check out the entertaining video, where the same miniature got scanned and resin-printed again and again and again and ...
Disclaimer: I provided a pre-build version of the OpenScan Mini free-of-charge, but besides a brief introduction of the device, I did not have any influence of the outcome of the video, nor any of the opinions in the video.
Take a moment to look at the detail of the original sculpt of the 75mm miniature - Prince Tharkos, which was part of the Champions of Sona Kickstarter Campaign:

as well as the first printed copy:

Even after six cycles of copying the copy, the result is still relatively close to the original:

Over several iterations of scanning and printing, some details become more and more soft, but it is not totally clear, what error comes from the scanning and what inaccuracy is introduced by the 3d printing process. In the following sections, I will try to discuss some of the appearing effects. But first, let's take a look at the technology behind the copying.
The scanning process
When using photogrammetry, it is absolutely crucial to prepare the object's surface, so that there are thousands (!) of tiny dots. If your object does not have a feature-rich surface (meaning: thousands of tiny dots), all other settings like lighting, background, camera and software won't help to achieve good or even any results. Please see this guide on GitHub for more details.
Here is a close-up example of a well-prepared surface:

Note, that primed surface plus one contrasting color of fine dots would already suffice

Unfortunately, the surface preparation is not fully shown in the video. But scanning a bare and clean plastic miniature is de facto impossible with photogrammetry without using prior surface treatment. So you should either use an airbrush or one of the self-vanishing scanning sprays to prepare the surface accordingly.
Some more details about the scanning process:
- the polarizer helps to eliminate specular highlights on the model and thus improve the quality of the output
- the miniature is placed on one of the included holders and fixed with a little bit of putty
- the OpenScanCloud can be used free-of-charge to create the resulting 3d models. The captured photos get transferred from the Raspberry Pi to the OpenScanCloud Servers for automated processing
- The resulting, textured mesh will need manual scaling and minor mesh repair (couple of clicks in Meshmixer)
- The ~80mm miniature is at the size limit of the OpenScan Mini and alternatively the OpenScan Classic could be used.
The printing process
An 8K LCD resin printer has been used. The Phrozen Sonic mini 8K has a pixel size of 20 µm, which is slowly contributing to the overall "washed out" look of the results. Another factor is the usez z-height of roughly 50 µm.
Resin printing is a topic for itself and there are several factors that can influence the results. I will discuss some effects in the following section.
(1) softer details at the bottom

The stones on the base seem a bit softer than the rest of the model. This was caused by the scanning process, as the limited depth of field of the camera can not capture the whole model (thus the size limit of 80-90 mm for the OpenScan Mini).
It is possible to improve such areas by using manual focus or even the focus stacking mode, which will create photos with a different, manually set, focal plane.
(2) printing artifacts - layering

LCD resin printers can produce very fine, visually pleasing results. Still, there are printing artifacts which will be barely visible. The X-Y inaccuracy (due to the pixel size) is relatively soft, whereas the discrete z-heights will produce a notable pattern/layers.
(3) hand connected to leg (after 6 iterations)

There might be various reasons for this effect:
- occluded areas/narrow gaps are hard to scan - increasing the image number might help
- it is not clear, whether this area was prepared properly. When using the airbrush/scan spray, it is very important not to miss any part of the visible surface.
- Defects like this can be smoothed/removed relatively easily with a tool like Meshmixer, Blender or ZBrush (but anyway, it is better to avoid artifacts like this by improving the scanning procedure ;)
(4) growing base

Again, this is caused by the limited depth of field. The scanner is not able to capture details in the lowest areas due to the size of the model. The meshing algorithm will try to close those missing information, thus it will add some volume with each iteration.
There is a relatively simple solution: It is possible to re-orient the model and run a second scan. The second pass should cover those areas, which were not included in the first scan. The software should automatically stitch both scans.
(5) Inward bending sword/perspective warp

In my opinion, this effect might have two causes:
- The orientation of the print on the platform might introduce some forces during the release cycle (z-movement). This could slightly bend the sword inwards (which corresponds to the z-direction of the printing process).
- Lens distortion in the scanners' camera might also increase this effect.
(6) Scan failure

The result is barely recognizable, but the scanner only captured the view from the top. This happens occasionally, when the starting position of the scanner is too high and the motor runs off the gears. Easy fix: repeat the scan ;)
Summary:
It is definitely possible to create high quality copies of your miniature using low-cost machines. But make sure to always:
and of course, share this post/video and let me know if you have any questions.
Leave a comment
This site is protected by hCaptcha and the hCaptcha Privacy Policy and Terms of Service apply.