As soon as you get into photogrammetry, you will encounter certain surface types and materials that are not as easy to scan as others. Very often, people blame their photogrammetry software, but I have found that most programs are able to deliver similar outputs (as soon as the input is fine).
A metal key is a prime example of a difficult-to-scan object, as it is both glossy and unicolor. Anyway, it is possible to get quite decent results with photogrammetry, when you follow some basic rules...

This one is an allegedly 3d-printing-proof security key and as shown in some recent postings on Instagram and YouTube, it is easily possible to print a working copy on sub 200€ 3d printer. Unfortunately, this possibility is widely ignored by manufacturers and so far I only encountered one key, that I haven't been able to copy.
Scanning Metal and Plastic (unicolor + glossiness)
Metal and plastic are two very prominent examples of hard to scan materials, as the surface has two challenging properties:
- unicolor - Most plastic and metal parts have very unicolor surfaces/areas. Even if the object seems to have surface texture like for instance the layers of a 3d printed part, the truth is that it is all just one color. The perceived texture comes from varying reflections, which will confuse any photogrammetry software!
- glossiness - glossy/reflective surfaces create highlights that change position when the camera/object/light is moved. These highlights will be recognized by any photogrammetry software and will make the reconstruction quite difficult.
Note, that even if a plastic object consists of several different colored areas, those areas themselves are still unicolor and thus will not be picked up be the software.
The Solutions - Chalk Spray + Cross-polarization
So we need some kind of artificial features/dots. I have seen many people and even several tutorials using a pen to create such distinct features. The principal idea is okay, but consider the following:
The best way of creating such number of random features is the use of chalk or dedicated scanning spray. Try to spray the object from all sides. Most importantly try to avoid covering areas 100% as this would be a new unicolor surface with the same problem, we try to solve. Just to make one thing clear:
Here you can see one of the photos from the above-mentioned photo set. See how I evenly coated the surface. Therefore, I hold the spray can 50-70cm away from the object which I hold in my other hand and apply the coating in short bursts.

The photos were taken with the OpenScan Mini. You can see the structure of the scanner in the background.
Note, that there are no distinct spots or dots in the background, which was achieved by the use of a cross-polarization setup as included in the kit.

There are two noteworthy issues:
- the reflections on the surface of the key lead to unwanted "features", which will either throw off the software completely or at least will create some kind of noise in the resulting model
- the reflections in the background might get interpreted as well, lowering the reconstruction quality.
It is still possible to get a decent model, but the overall quality will be significantly less and/or you will need much more photos. I was able to get a decent result with cross-polarization and only 40 photos. In order to get a similar result without polarizer, I needed at least 150 photos...
Bonus
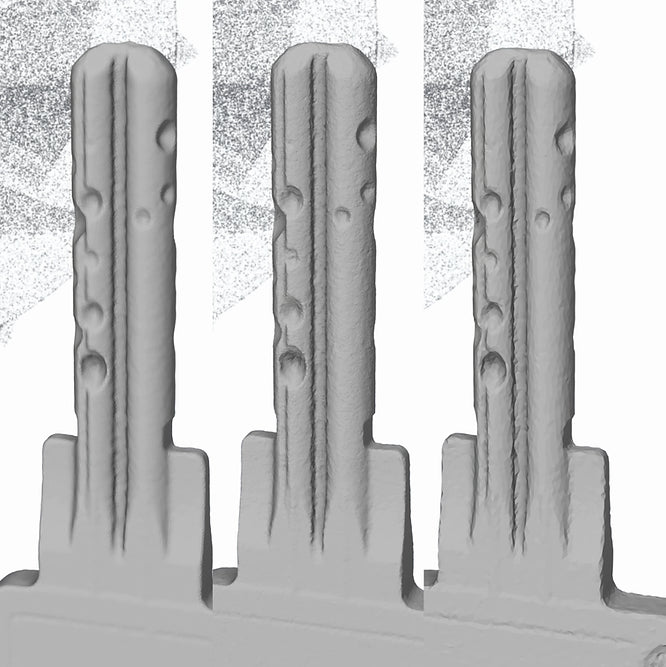
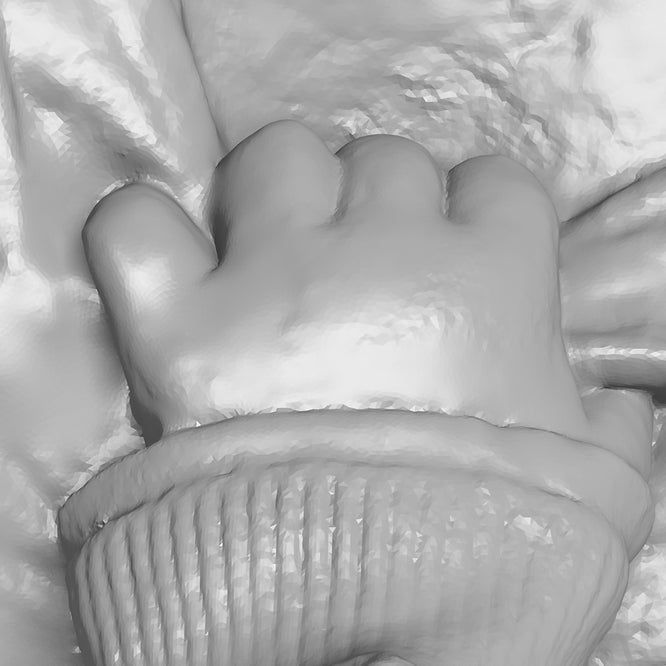
See how different programs did a similar job and produced usable outputs from only 50 photos (with chalk spray + cross-polarizer setup):

Meshroom - Reality Capture - ObjectCapture API
I hope you like this kind of short tutorial, please feel free to share your thoughts and if you want me to cover any particular topic, reach out :)
And if you made it that far through the text, feel free to share it and/or support the OpenScan project by becoming a Patreon
Best,
Thomas


Leave a comment
This site is protected by hCaptcha and the hCaptcha Privacy Policy and Terms of Service apply.