by MichaelX
tldr; I am comparing the OpenScan Mini with the Arudcam IMX519 to the OpenScan Classic with RPI HQ camera with regards to scanning very small parts in very high resolution. The IMX519 can not zoom, thus a lot of pixels seem wasted. With the right lens the HQ can get the small parts in focus and filling as much of the sensor as possible. This improves the mesh resolution, but at the cost of user friendliness and more expensive hardware. In a next article i will be looking at the relation between distance, aperture, focal range and much more!
A few weeks ago, I built the OpenScan Mini, and I love it. Building it was a breeze, configuring the software was pretty straightforward and any question I had was answered quickly on social media.
Over the course of 2 weeks I went from my first successful, but rather bad, scan to very high quality results. While scanning a 16 mm tall dwarf model, I was considering how the cropping I did was basically throwing away a LOT of pixels.
The Arducam IMX519's images are 5312x2988 pixels, but since I had to crop the images quite a bit, I was eventually left with images with a resolution of about 944x1118 pixels. If I used a DSLR I could probably zoom in to a point where the entire dwarf fills at least one of the axes of my camera's sensor, and at only 10 megapixels that would still be closer to 3872 x 2592 pixels!
With the camera on the mini being a fixed difference from the model and no simple way to change that, I figured I’d give the OpenScan Classic a go. I had some extra steppers and all the components needed to build a breadboard version of the pi shield.
After printing and building everything I needed, I gave it a test run with my DSLR, a canon EOS 1000D. I used a 50 mm prime lens with a macro filter, f13, ISO100 and 1/2s exposure. The result was underwhelming. I used Metashape to render both meshes and blender to show the result.
Below is a comparison of the raw, unedited images.

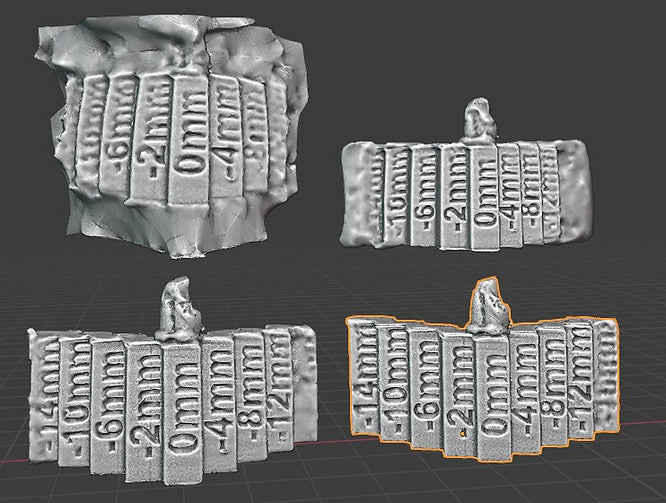
And this is how the mesh looks.

As you can see, there are little to no differences, and that makes sense as the images were not cropped on the IMX519 either.
This does prove how good the Arducam IMX519 really is, and how smart the software I used really is.
That said.. this was not the original use case I decided to build the classic for. Also, the DSLRr was way too unwieldy for my taste, but it did show enough potential for me to continue this quest.
I figured I needed a replacement for my DSLR and I also really missed the preview on the OpenScan interface. After some online browsing, I decided on the RPI HQ camera. It has a lower resolution than the IMX519, but still higher than my canon. It has a wide range of available lenses, and it connects directly to the Raspberry Pi’s CSI port, just like the IMX519.
The search for a decent lens was a LOT more complicated as most lenses have a relatively long minimal focal point, 30 to 50 cm, and are either expensive or... well you get what you pay for.
Eventually I decided on the Fujian 35 mm F1.6 C Mount lens, also sold by Arducam directly. Why this lens, you ask? Well, it was priced decently, got some good reviews on a DLSR forum, and it seemed to be better than most of the “CCTV” lenses out there.

Now, this lens has a minimum focus distance of 50 cm, and I want a compact scanner, So I also ordered 3 extra CS -> C mount adapters that will function as macro tubes.

And finally, since prime lenses do not have a zoom function, I made a sled mount for the whole camera and lens using some old 3d printer parts.

The sled will eventually be driven by a tr8x8 lead screw, and maybe even a stepper motor.
I decided to scan the same 16 mm dwarf again, and this is the result. The RPI HQ image is rather dark, but it worked well enough.


The HQ scan is much more crisp and detailed. It has much better defined edges and cavities. The result is still not exponentially better, again proving the Arducam IMX519’s worth, but it is visible nonetheless!
In a future article I will describe the different aspects that come into play with this setup and do some testing with the aperture, shutter speed, distance to object, macro tubes and more...
Stay tuned!
DISCLAIMER
The models used in this article are the property of MichaelX. They where chosen as subjects because they are highly detailed models that test the scanners abilities. The resulting meshes are not available to anyone but MichaelX, and never will be. OpenScan.eu is not involved in this process. Any kind of object could have been chosen to test the scanner, but this is what MichaelX has chosen as a test case. This article’s focus is to showcase what the OpenScan products are able to do.


Leave a comment
This site is protected by hCaptcha and the hCaptcha Privacy Policy and Terms of Service apply.