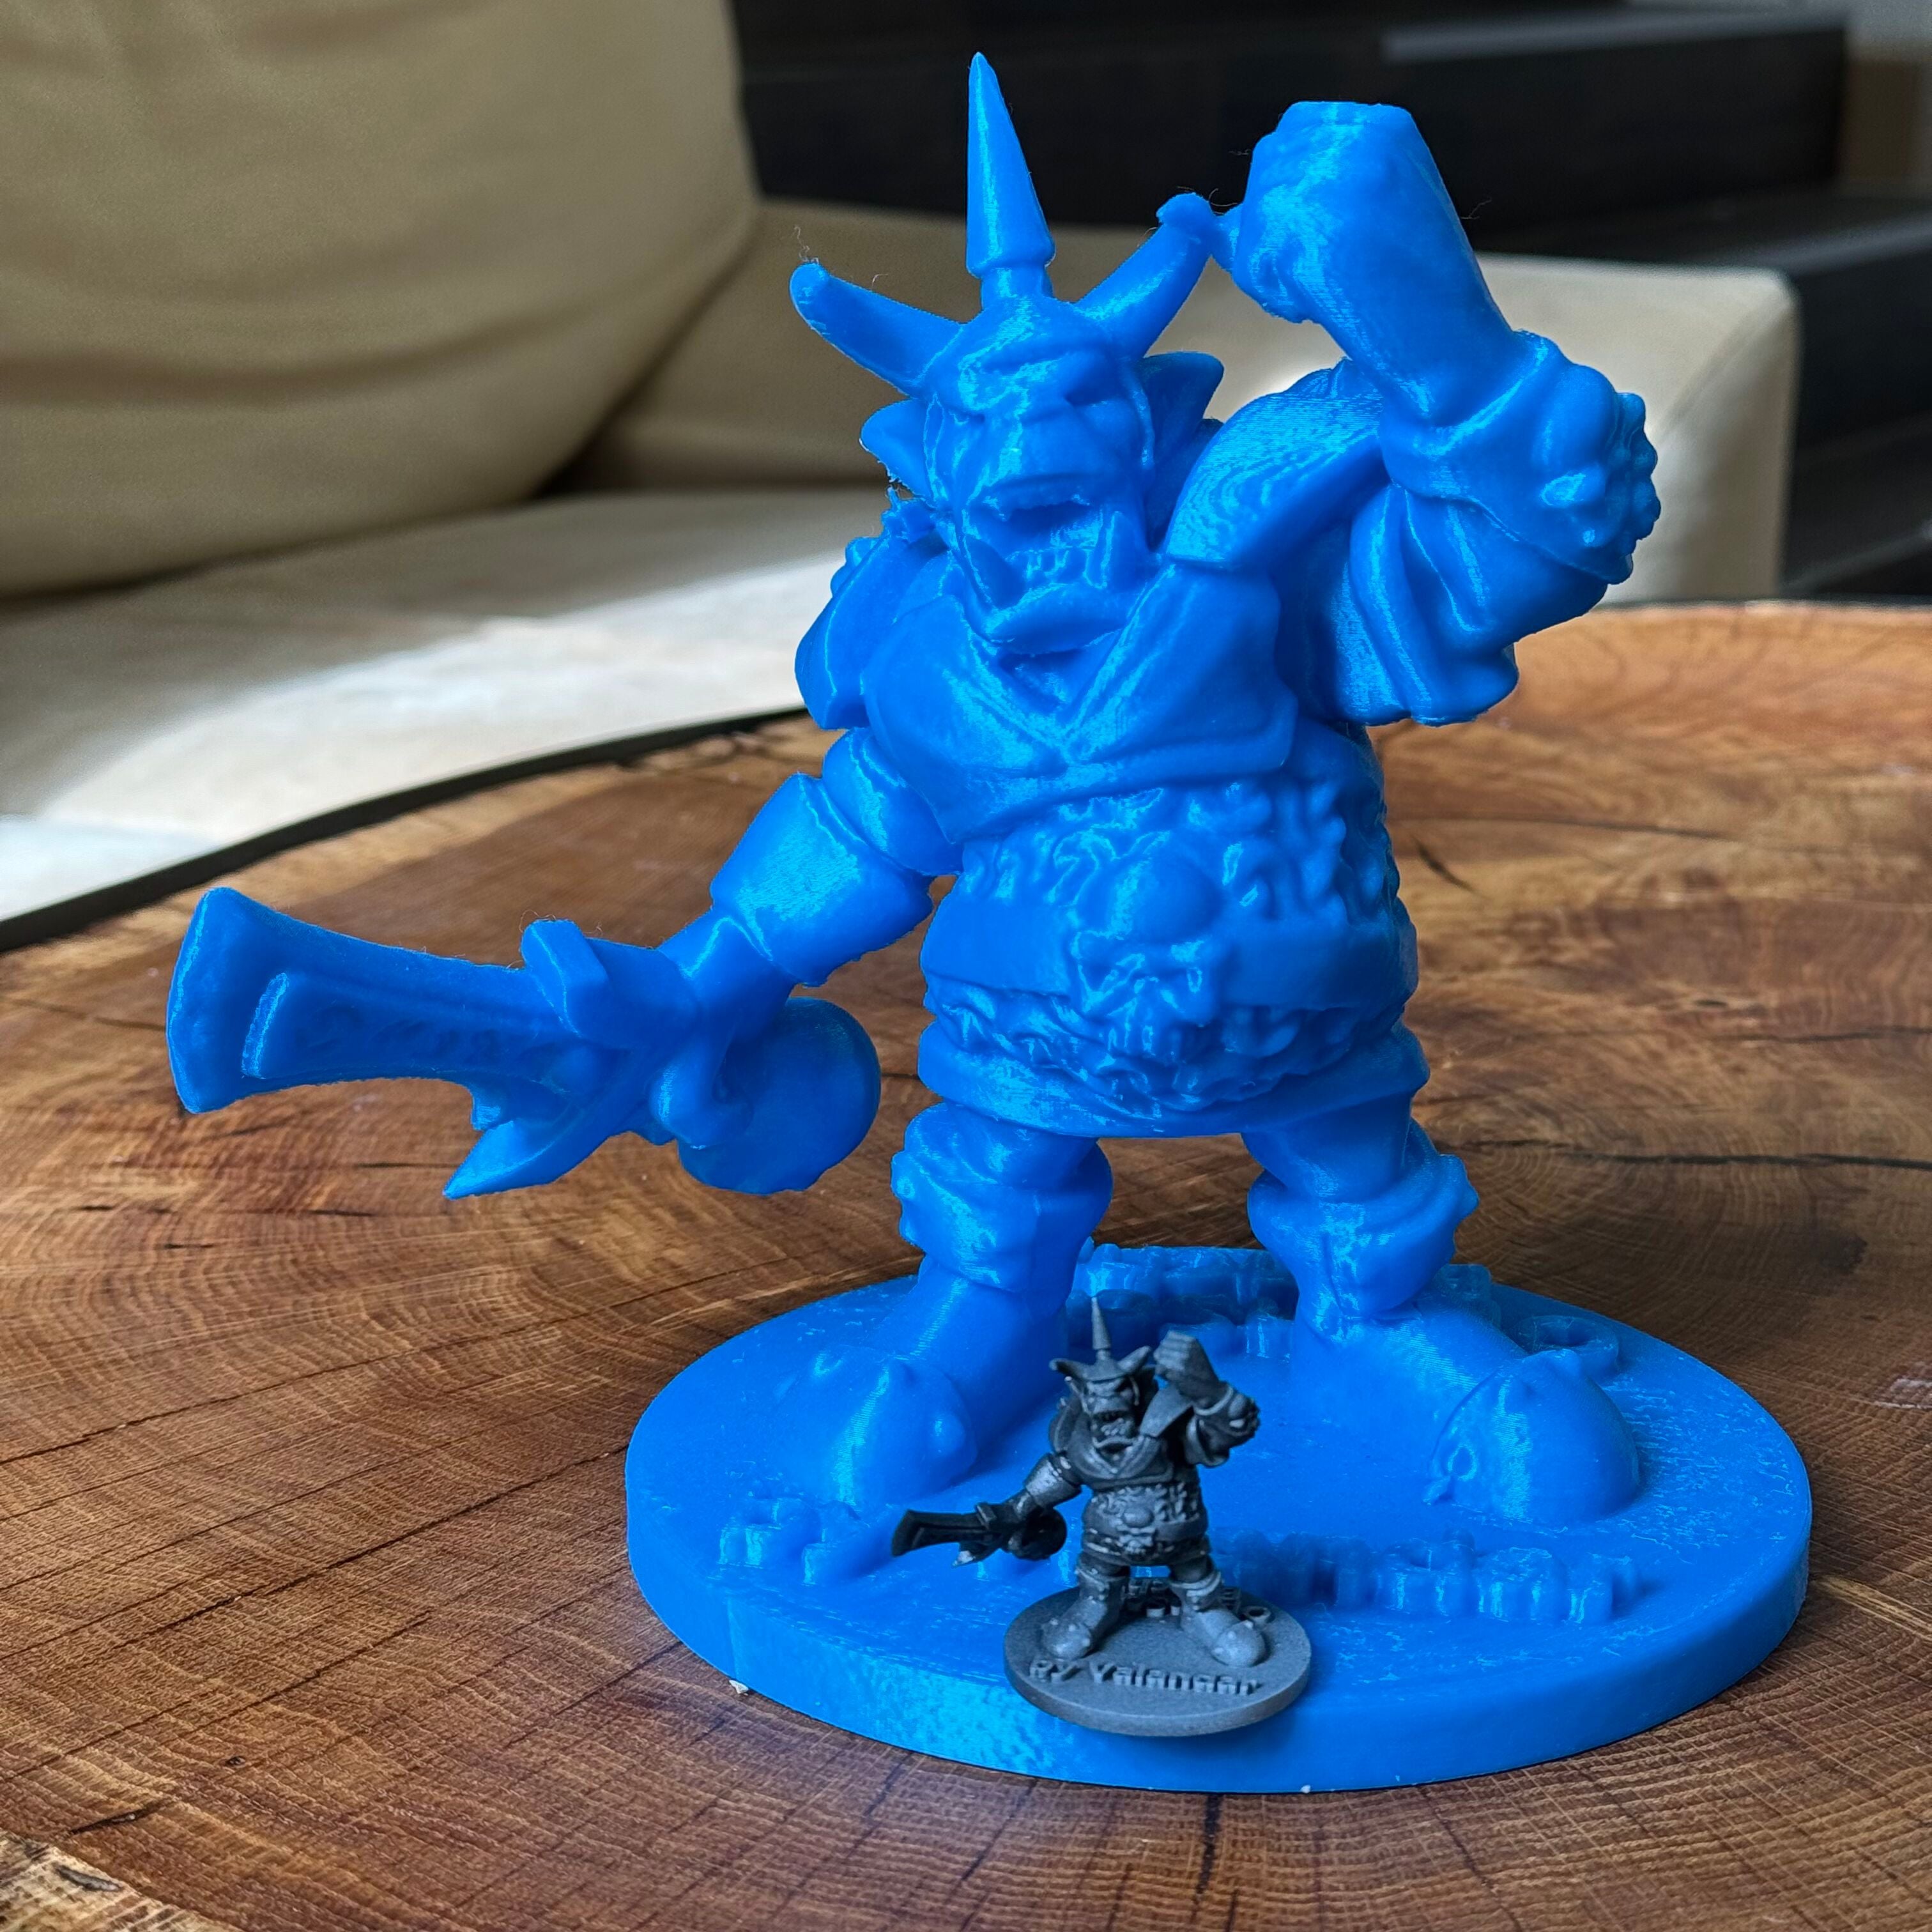
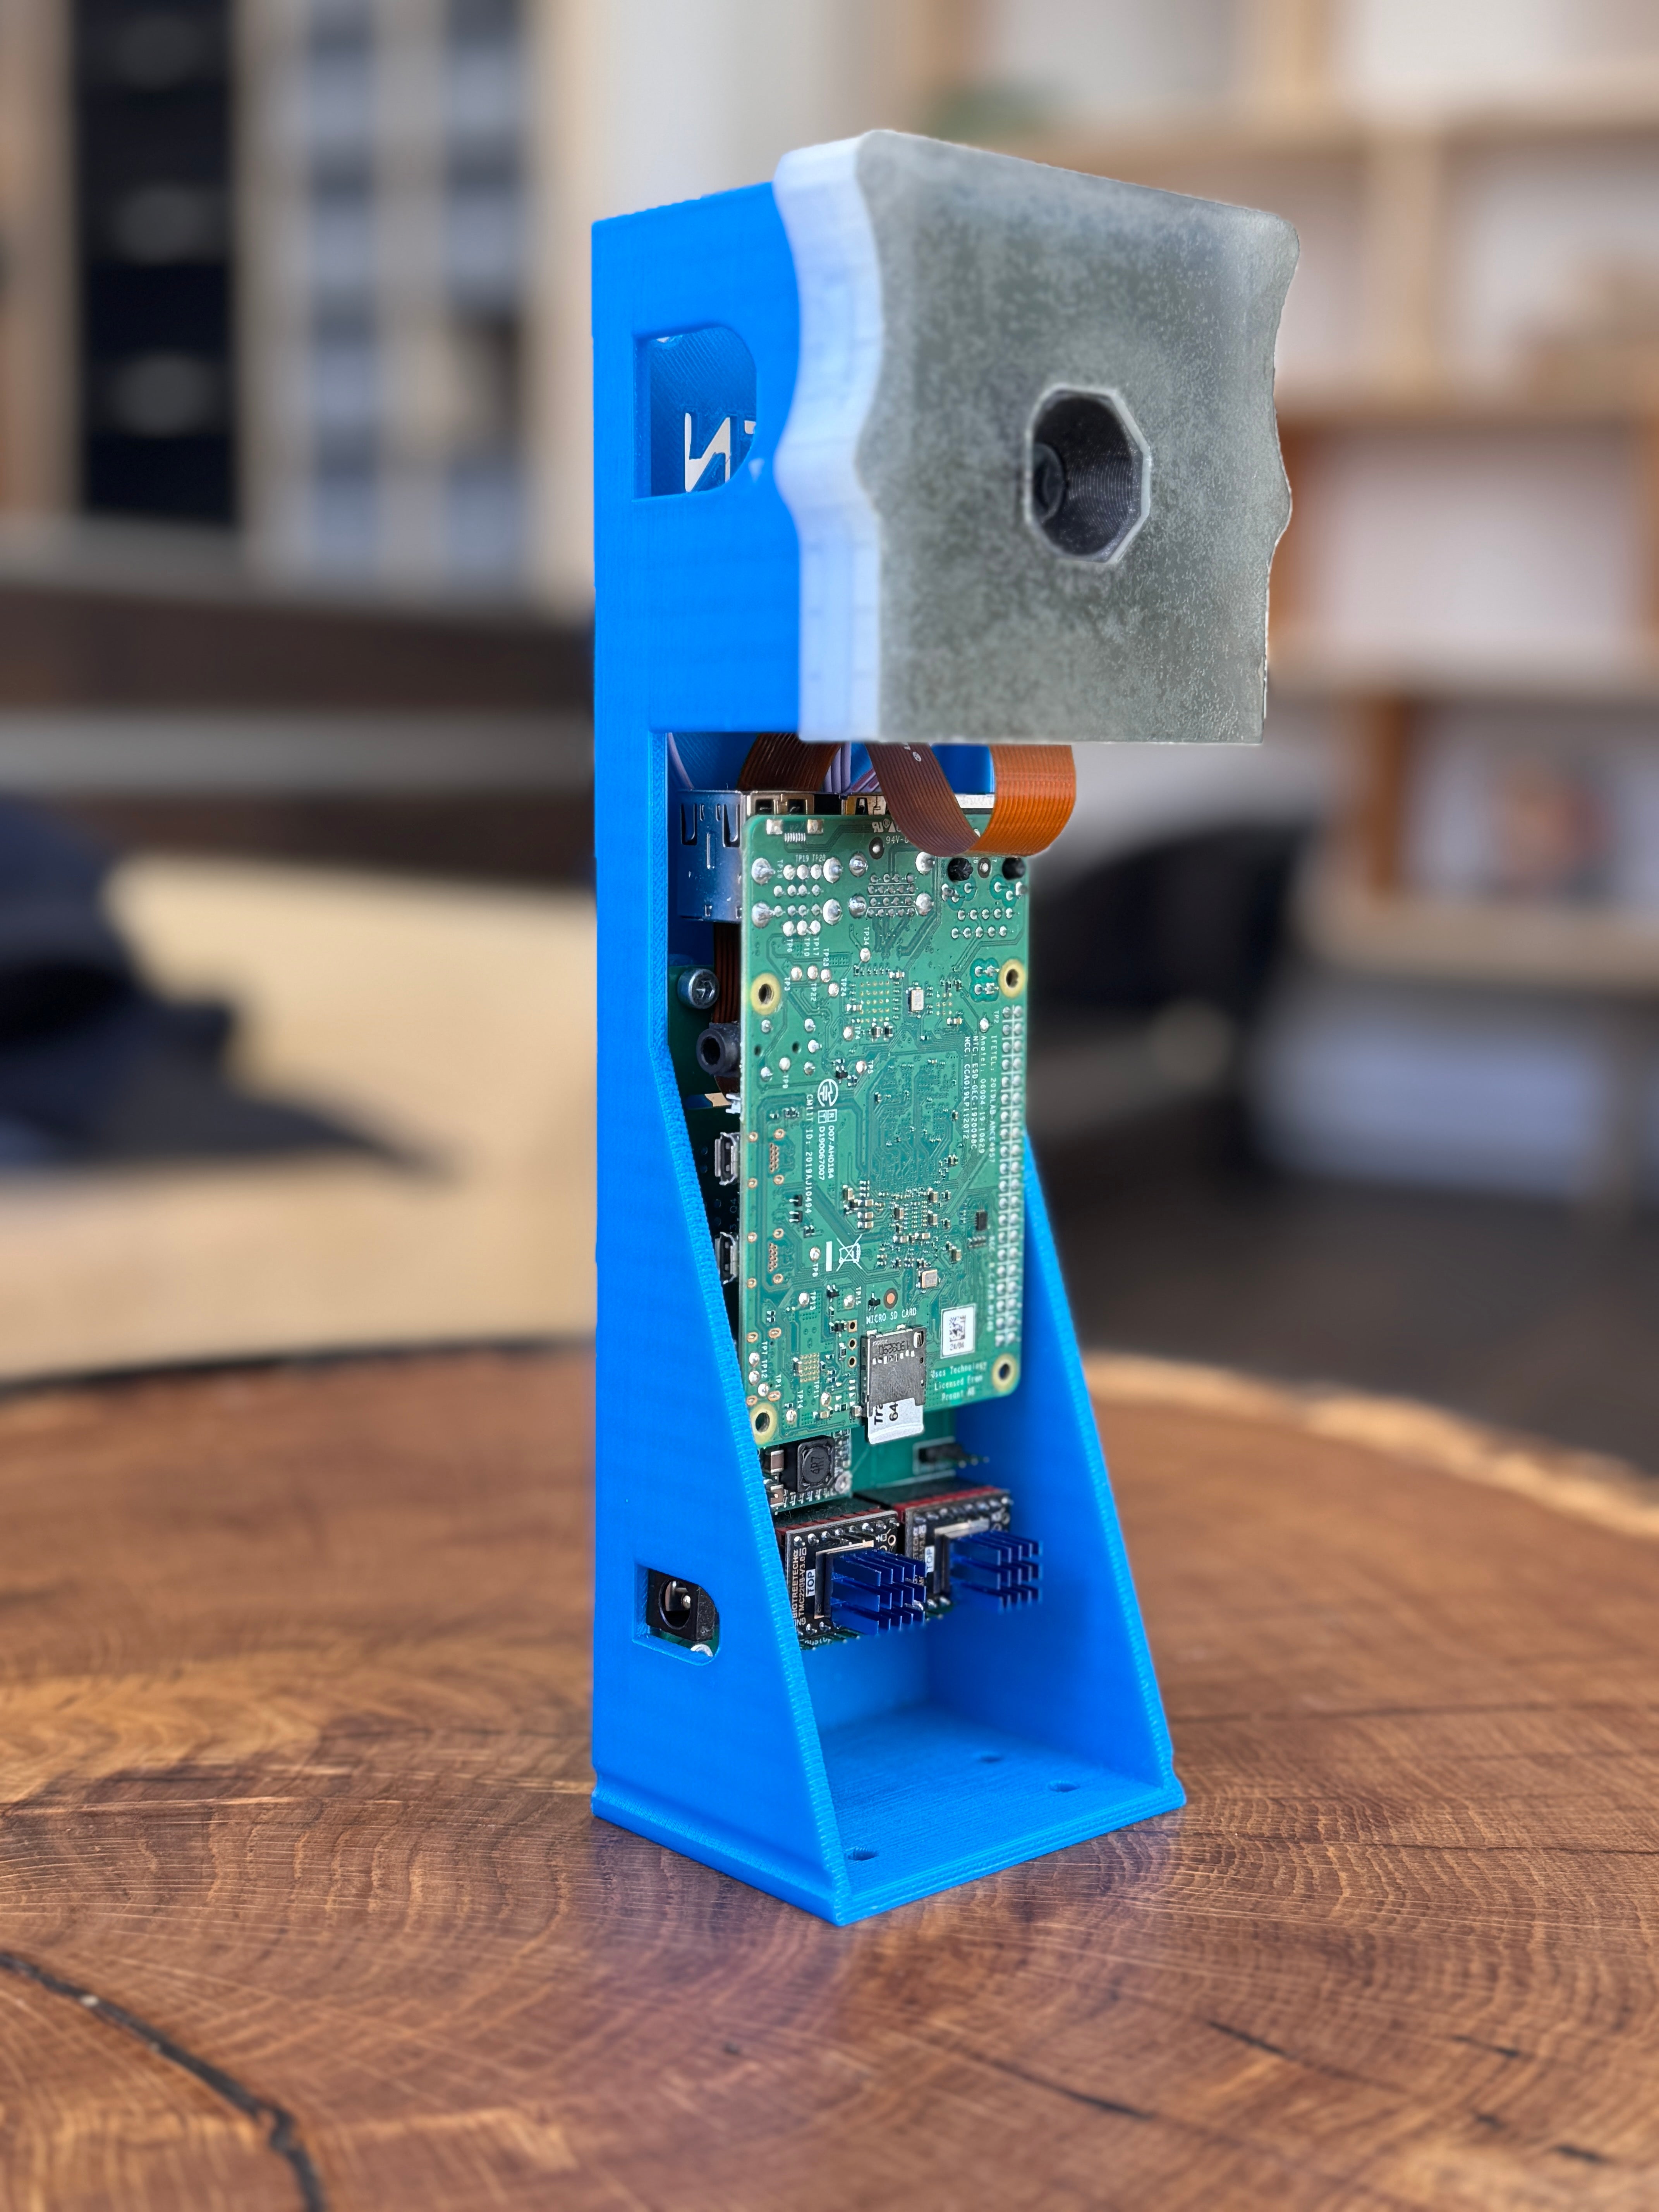
It has been a long-standing dream to have a machine into which you can simply place an object, press a button, and obtain an exact copy. Through the power of open-source software and open hardware, we have been able to build the world's first copy machine for real-world objects. We achieved this by combining our OpenScan Mini with a Prusa MK3S+ 3D printer.
The Technology Behind
Our 3D copy machine combines two key technologies with a high grade of automation:
- 3D Scanning: The OpenScan Mini captures a detailed 3D model of the object.
- 3D Printing: The Prusa MK3s+ creates a physical copy based on the scanned model.
OpenScan Mini
The OpenScan Mini is a compact and efficient 3D scanner. It uses photogrammetry to capture multiple images of an object from various angles. These images are then automatically processed through the OpenScanCloud to create a highly accurate 3D model.
Prusa MK3s+
The Prusa MK3s+ is probably the most known 3D printer. The story of the development of the Prusa i3 printer has been highly encouraging and showed, that open hardware can revolutionize a whole markets.
The Process
The copying process is largely automated, with minimal manual interaction required. The steps marked with an asterisk (*) require human intervention, while the main processes run fully automatically.
| Step | Operation | Duration |
| 0 | Object preparation with scanning spray (*) | 1 min |
| 1 | Scanning (first pass) - OpenScan Mini with local node-red browser interface | 4 mins |
| 2 | Reorienting the model on the scanner (*) | 0.5 min |
| 3 | Scanning (second pass) - OpenScan Mini with local node-red browser interface | 4 mins |
| 4 | Processing using the OpenScanCloud (free cloud processing through our public API) | 18 mins |
| 5 | Downloading the file to and creating a printable .gcode file through PrusaSlicer console (local flask server on a windows machine handling the processes) | 3 mins |
| 6 | Printing the file through PrusaConnect API (Prusa MK3S+ & Raspberry Pi Zero) | 203 mins |
Results
We chose the well-known 3D Benchy as our test object, as it presents challenges for both 3D printing and 3D scanning. Despite using only 188 photos (two passes of 94 each) for the 3D reconstruction, our resulting model captured almost all details of the original object.

In the left, you can see the surface preparation, which is absolutely crucial for photogrammetry. The 3D scanner was able to capture the inside of the cabin as well as the container. Some layer inconsistencies and the layer steps are clearly visible.

The underside shows the text as well as the artifacts of the textured print bed surface.
Discussion
While this setup produces great results, it primarily serves as a proof of concept. There are several limitations:
- Size constraints based on the scanner and printer capacities
- The quality of the copy is mostly determined by the printing process. FDM comes with several necessities (e.g. support, orientation..).
- The automation software has been stitched together in an afternoon and is not ready for production ;)
- Orientation of the object is currently random, which could be addressed through software improvements.
- Only a few 3d printers offer a full API, limiting the feasibility of other printing processes (e.g. SLA).
The automation is only possible because both machines come with an API, which is unfortunately uncommon in the world of 3D printers and even rarer in the world of 3D scanners. We hope that this project can motivate other manufacturers to open up their machines to users, enabling people to create even more amazing things.


Leave a comment
This site is protected by hCaptcha and the hCaptcha Privacy Policy and Terms of Service apply.