
TLDR
How to modify existing gcode files (.gcode.3mf) for Bambulab A1 Mini for repetitive printing of the same build plate (PLA only!). Make sure to see the shortcomings/results
Motivation
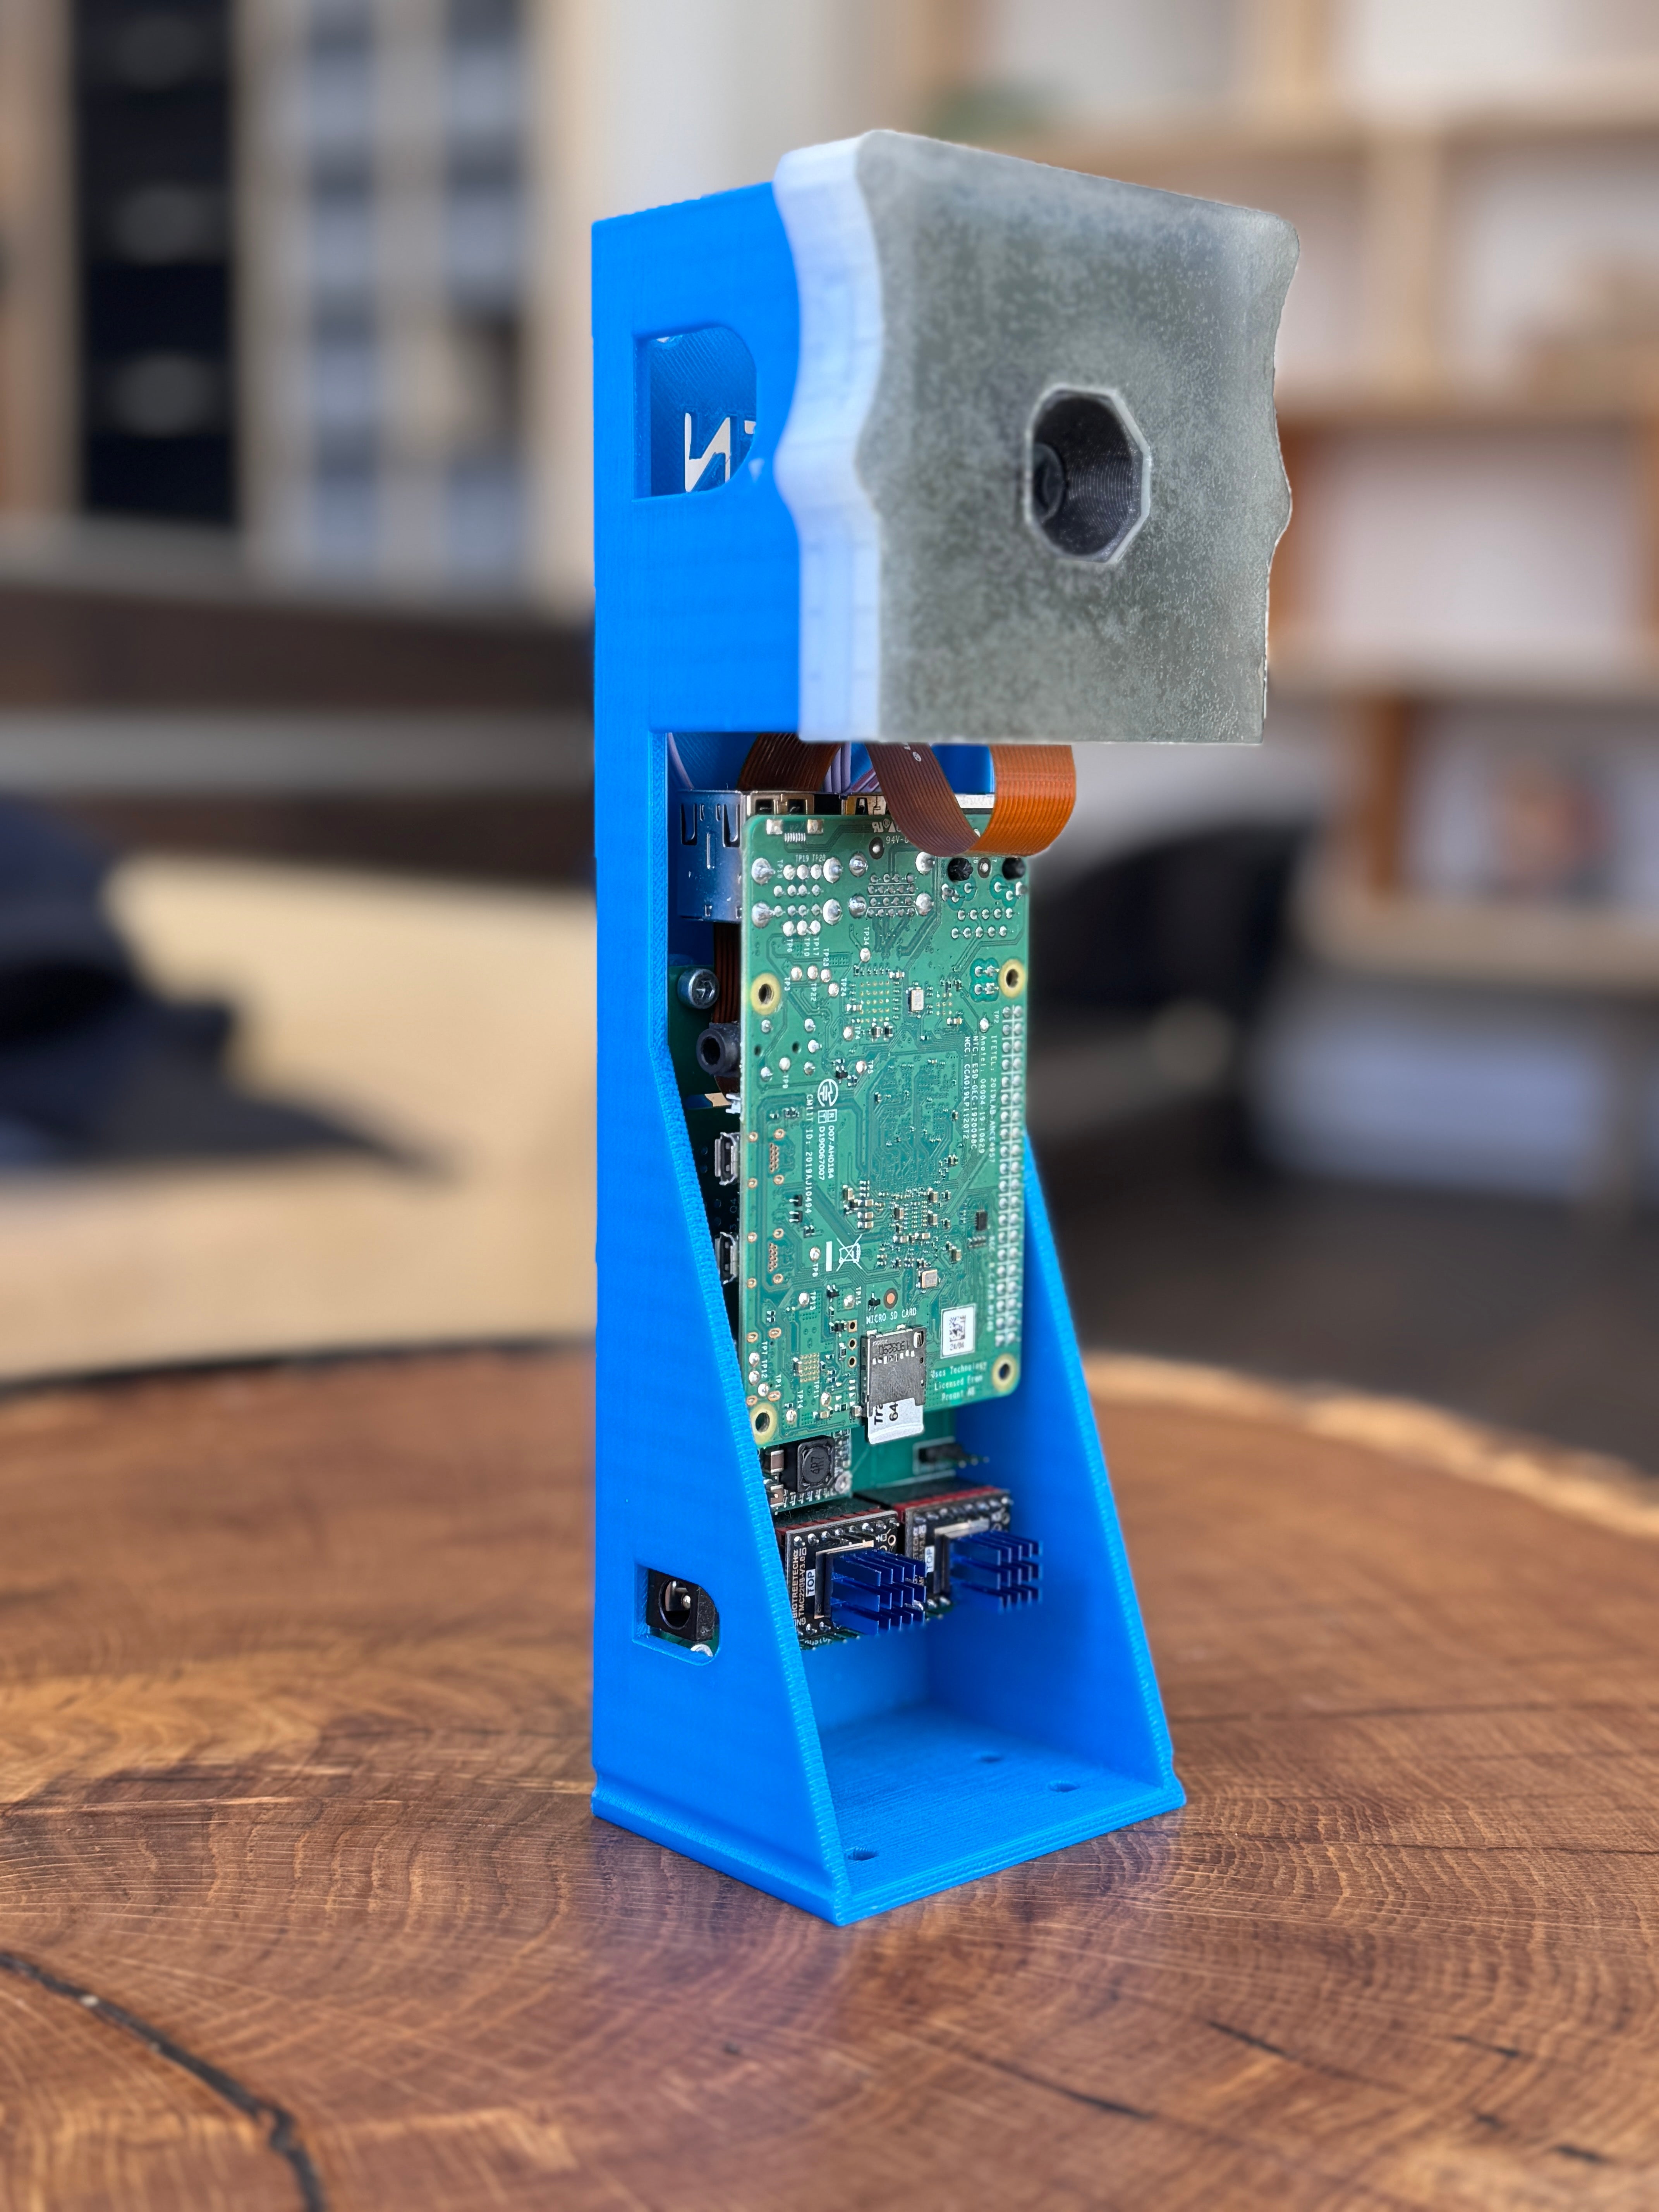
We run a small print station with a handful of 3d printers that produce the parts for our open-source 3D Scanner (OpenScan Mini & Classic).
But then two of our beloved Prusa MK3s decided to retire prematurely on the exact same day (after many years and thousands of printing hours). Unfortunately, this happened at a moment, where we had a bit of backlog and thus needed to ramp up the existing and now quite limited print capacity. Under normal circumstances, we run our printers 20-30% of the time. Which means they collect dust for the majority of their time!
With this mod, we managed to increase the capazity utilization to above 80 percent!
Disclaimer
Do not change your gcode files unless you are absolutely certain, what you are doing!! This is one of the few operations that can severely damage a 3D printer.
Make sure to carefully WATCH your printer, whenever you use modified gcode.
The provided scripts and outlines of this blog post are for educational purposes only and should be seen as a general guideline and NOT a 1:1 instruction.
Setup
- Bambulab A1 Mini with or without AMS lite
- Textured PEI Sheet
- Filament: PLA only!!
- tilt printer by ~20deg so that parts can slide down after cooldown (1)
- optional printed guide (2 - see download section), so that parts are guided into a box (3)
Understanding the gcode
In order to modify the gcode, you will need to export and modify a sliced model from Bambu Studio. Using the "Export plate sliced file" in the top right corner of the slicer, you can save a ***.gcode.3mf file.

The ***.gcode.3mf is a type of zip file and you can use 7Zip to open and manually view/edit the file.

The interesting file sits inside the Metadata folder and is called plate_1.gcode.

You can open and modify the file with your texteditor. Again: Changes here can severely damage your 3D printer...
Anyway, let's get started.
The overall structure of the file is somewhat like this:

Adding custom gcode
What we want to do is adding a custom gcode to the end of the file, which ejects the printed parts from the build plate (after giving it enough time to cool down).

Unfortunately, Bambulab does not use a standard Marlin/Reprap Gcode implementation and so there is no proper documentation of which codes are implemented and their details.
- First, you want to make sure that the build plate has enough time to cool down. In my case of roughly 20°C room temperature, this takes roughly an hour. I would conservatively choose this value, as the adhesion between printed parts and build plate greatly increases at the end of the cooldown phase.
M140 S0      ; Set bed temperature to 0°C
M104 S0      ; Set hotend temperature to 0°C
G4 P3200000  ; pause for 1h
- After cooling down, I use the M970 command to vibrate the build plate in order to loosen the printed parts. Smaller parts will come loose and should fall of the plate into the box
M970.3 Q1 A7 K0 O2      ; vibrate printbed
M970 Q0 A10 B50 C90 H15 K0 M20 O3   ; vibrate printbed
- The hotend moves to the top left corner of the build plate + lowering the nozzle to almost touch the plate.
G1 X0 Y185  ; Move to X50 Y185
G1 Z0.2      ; Move Z to 0.2mm
- Followed by the most critical and potentially damaging step: moving the plate to the back and thus pushing parts to the front:
G1 X0 Y-1 F1000    ; Move to Y-1 at 1000mm/min speed
G1 X0 Y185  ; Move back to Y185
G1 X50      ; Move to X50
- Repeating a similar motion with different position for X:
G1 X50 Y-1 F1000 ; Move to Y-1 at 1000mm/min speed
G1 X50 Y185 ; Move back to Y185
G1 X100 ; Move to X100
G1 X100 Y-1 F1000 ; Move to Y-1 at 1000mm/min speed
G1 X100 Y185 ; Move back to Y185
G1 X150 ; Move to X150
G1 X150 Y-1 F1000 ; Move to Y-1 at 1000mm/min speed
Addition repetitions --> "endless mode"
Now we have all the building blocks to create a number of repetitions, where the printer cools down and ejects the printed parts before starting the next print.

This can be done manually by modifying the plate_1.gcode file (see above) and saving it in the original ***.gcode.3mf file.
Alternatively, it is possible to use the provided python script (see Download section below), where you only need to specify your input_file (path) and number of repetitions.
This could be easily modified to take a number of different input files and combine those into one long print-queue.
Results & Issues
To make one thing clear, this procedure is prone to errors and has severe limitations. Nevertheless, we see quite some potential to automate small scale print "farms". After a bit of trial and error, we have:
- successfully printed 10+kg of material
- 100+ ejections
- ~800h of (mostly) uninterrupted printing
- tested the procedure on various designs (small parts + larger parts)
BUT!
We also had quite a few fails and close-calls:
The main problem is getting the prints to self-release as much as possible.
The detachability (? --> ability of the print to self-release after cooldown) is greatly influenced by several factors:
- Material - Build plate combination: PLA + textured PEI works fine. PETG + textured PEI does not work at all
- Cooldown time: some objects could be easily pushed of the build plate after 20 minutes, where others needed 60+mins
- Object geometry: round objects stick better than parts with sharp corners (--> prone to warping/self-releasing). Smaller objects come of easier than larger ones
-
Room temperature: there was a very notable difference, where at 16°C room temp the prints released easily, whereas at 22°C the prints stuck too well to the build plate and the print head had to do several attempts of pushing the parts of the plate (video above).

Downloads
Future improvements
There is A LOT to improve with this setup:
- do more tests with different prints
- add a dedicated parts scraper so that the fan shroud and nozzle are protected
- try different material/build plate combinations
- improve ejection code (e.g. create a script or interface to add/combine multiple print files into one)
- adopt this approach to other machines
- add some fan for additional cooling to speed up the cooldown phase
...
3 comments
Looper
Great write up and documentation, thanks for sharing. Have you progressed on this? You may want to look at FarmLoop for inspiration, they use a microcontroller and a switch to turn on a linear actuator and a fan before pushing items off, based on bed temp.
https://makerworld.com/en/models/1959742-farmloop-stage-2-for-a1-mini-automatic-printing
Tim
Hi where do we get the g-code from, i intend to input it directly into the printer
Maksym
One of the most detailed instructions out there.
Btw, gcode file can be directly exported from slicer avoiding the fuss with archive extration…
Leave a comment
This site is protected by hCaptcha and the hCaptcha Privacy Policy and Terms of Service apply.